
The Orbit Protocol™
A four-phase discipline for private network infrastructure: understand the property before specifying equipment, design before deploying, verify what was built, and hand over a documented system.
The sequence is constant; the depth of each phase scales with the property.
What happens after I contact you?
Four steps. Nothing is installed until you approve it.
The same four steps apply to a Starlink installation, to Wi-Fi that reaches the upstairs office, and to a network across several buildings. We call the sequence the Orbit Protocol. What changes is how much each step involves: a straightforward installation may need little more than a conversation and a written quote, while a complex property needs more planning before anything is priced.
Step 1: Understand the property
We start with what needs to work better, not with equipment.
Eric reads your message and replies personally. The first conversation covers the house and how it’s used: where the signal drops, who works from home, what’s already installed. If that’s enough to scope the work, the next step is a written quote. If the property needs a closer look first, we’ll recommend the paid on-site assessment, explain why, and confirm its fee with you before the visit is booked.
We handle
- Asking about the house, the problem, and how you use it
- Reviewing what’s already installed, and what’s worth keeping
- Deciding whether anything needs a closer look on site
Your part
- Describe what isn’t working, in your own words
- Get a recommended next step, and the reason for it
Technical detail · What an on-site look can include
- Signal measured where the equipment will actually sit, rather than estimated from a floor plan.
- For satellite internet, the view of the sky checked with summer foliage in mind, not only the bare winter trees.
- Construction that weakens signal: stone, brick, plaster, low-E glass, and metal roofing.
- Between buildings: distance, elevation, and tree lines, before any wireless link is chosen.
- Existing cable runs, equipment, and power, and a sensible place for the core equipment.
A single home with a clear plan may need only a focused check of the mounting spot and the cable path.
Step 2: Recommend a plan and price
You see what we propose, why, and what it costs, before you commit.
We recommend what the problem calls for. Sometimes that’s one well-placed access point and a cable; sometimes it’s new cabling and equipment across the whole property. Where there’s a real choice, you’ll see the options side by side, with our recommendation and its trade-offs. The quote names the equipment, where each device goes, how cable will run, and what is and isn’t included. The price is set for the scope you approve; anything that would change it needs your written approval first.
We handle
- Choosing the equipment and where each piece goes
- Planning cable routes, and what will be visible
- A written quote with the price for the agreed scope
Your part
- Choose between options, if there’s a real choice
- Approve the quote, ask for changes, or decline it
Technical detail · What the plan can cover
- How the internet connection, gateway, switches, and access points fit together.
- Equipment chosen for the property’s conditions, with models and quantities named.
- Cable routes, device and mount positions, and links between buildings where needed.
- Separate networks for guests and smart-home devices, where they’re worth having.
- The order of work, and phases for construction or staged projects.
Complex, multi-building, or phased projects can warrant a separate design engagement first: the Infrastructure Architecture Plan.
Your approval
Nothing is ordered or installed until you approve the written scope and price.
Step 3: Install with care
Approved work, done the way we agreed.
Installation follows the plan you approved. The practical side of working in a lived-in home, including access, what will be visible, and any break in your internet, is agreed with you before work starts. On site, device positions are confirmed before anyone drills.
Changes need your written approval. That covers anything that alters the scope, the price, or what you’ll see.
We handle
- Mounting, cabling, and setup to the approved plan
- Routing cable out of sight wherever the structure allows
- Stopping to show you the options if a planned route won’t work
Your part
- Access to the areas we agreed on
- Tell us about rooms or times to work around
Step 4: Test, explain, and hand over
Finished means tested against what we agreed, and explained to you.
We check the things the project was meant to fix: coverage in the areas we agreed on, each new cable run, the backup connection if there is one. Then we show you, and anyone else who lives with the system, what’s normal, what to restart, and how to reach us. The main accounts are yours, and the records describe what was actually installed.
We handle
- Testing what was agreed, and recording the results
- Labels, and a record of what was installed
- Showing your household how it works
Your part
- Sign in and confirm your accounts work
- Ask anything before we call it done
What will installation involve inside my home?
Working in a home you live in.
Most of what makes an installation easy to live with is settled before anyone drills a hole. These are the things we agree with you first, and what happens when the building has other ideas.
What you’ll see
Where each device goes, and whether any cable will show, is part of the plan you approve. Positions are confirmed on site before any drilling.
What you already have
Existing cable and equipment that’s sound and fits the plan is kept. If something needs replacing, the quote says why.
Rooms we need to reach
You’ll know ahead of time which spaces we need, such as the attic, basement, crawl space, closets, or roof, so you can plan around them.
Your internet during the work
Some steps interrupt your connection, usually when new equipment takes over from the old router. We’ll tell you when to expect that.
Out of sight where the building allows
We route cable out of sight wherever the structure allows. Finished walls, fire blocking, masonry, and plaster can limit that. What patching is included, if any, is agreed before work starts.
When the building has other ideas
If a planned route won’t work, we stop and lay out the options: another path, a color-matched raceway, a small patched opening, or moving the device. Nothing visible, and nothing that changes the price, goes ahead without your written approval.
How do you check that the work is finished?
Finished means checked against what we agreed.
Testing isn’t a speed test at the router. We check what the project was meant to fix, in the places it matters, and record what we found, so any later service starts from a known state. What gets checked depends on what you approved.
Depending on the project
Wi-Fi
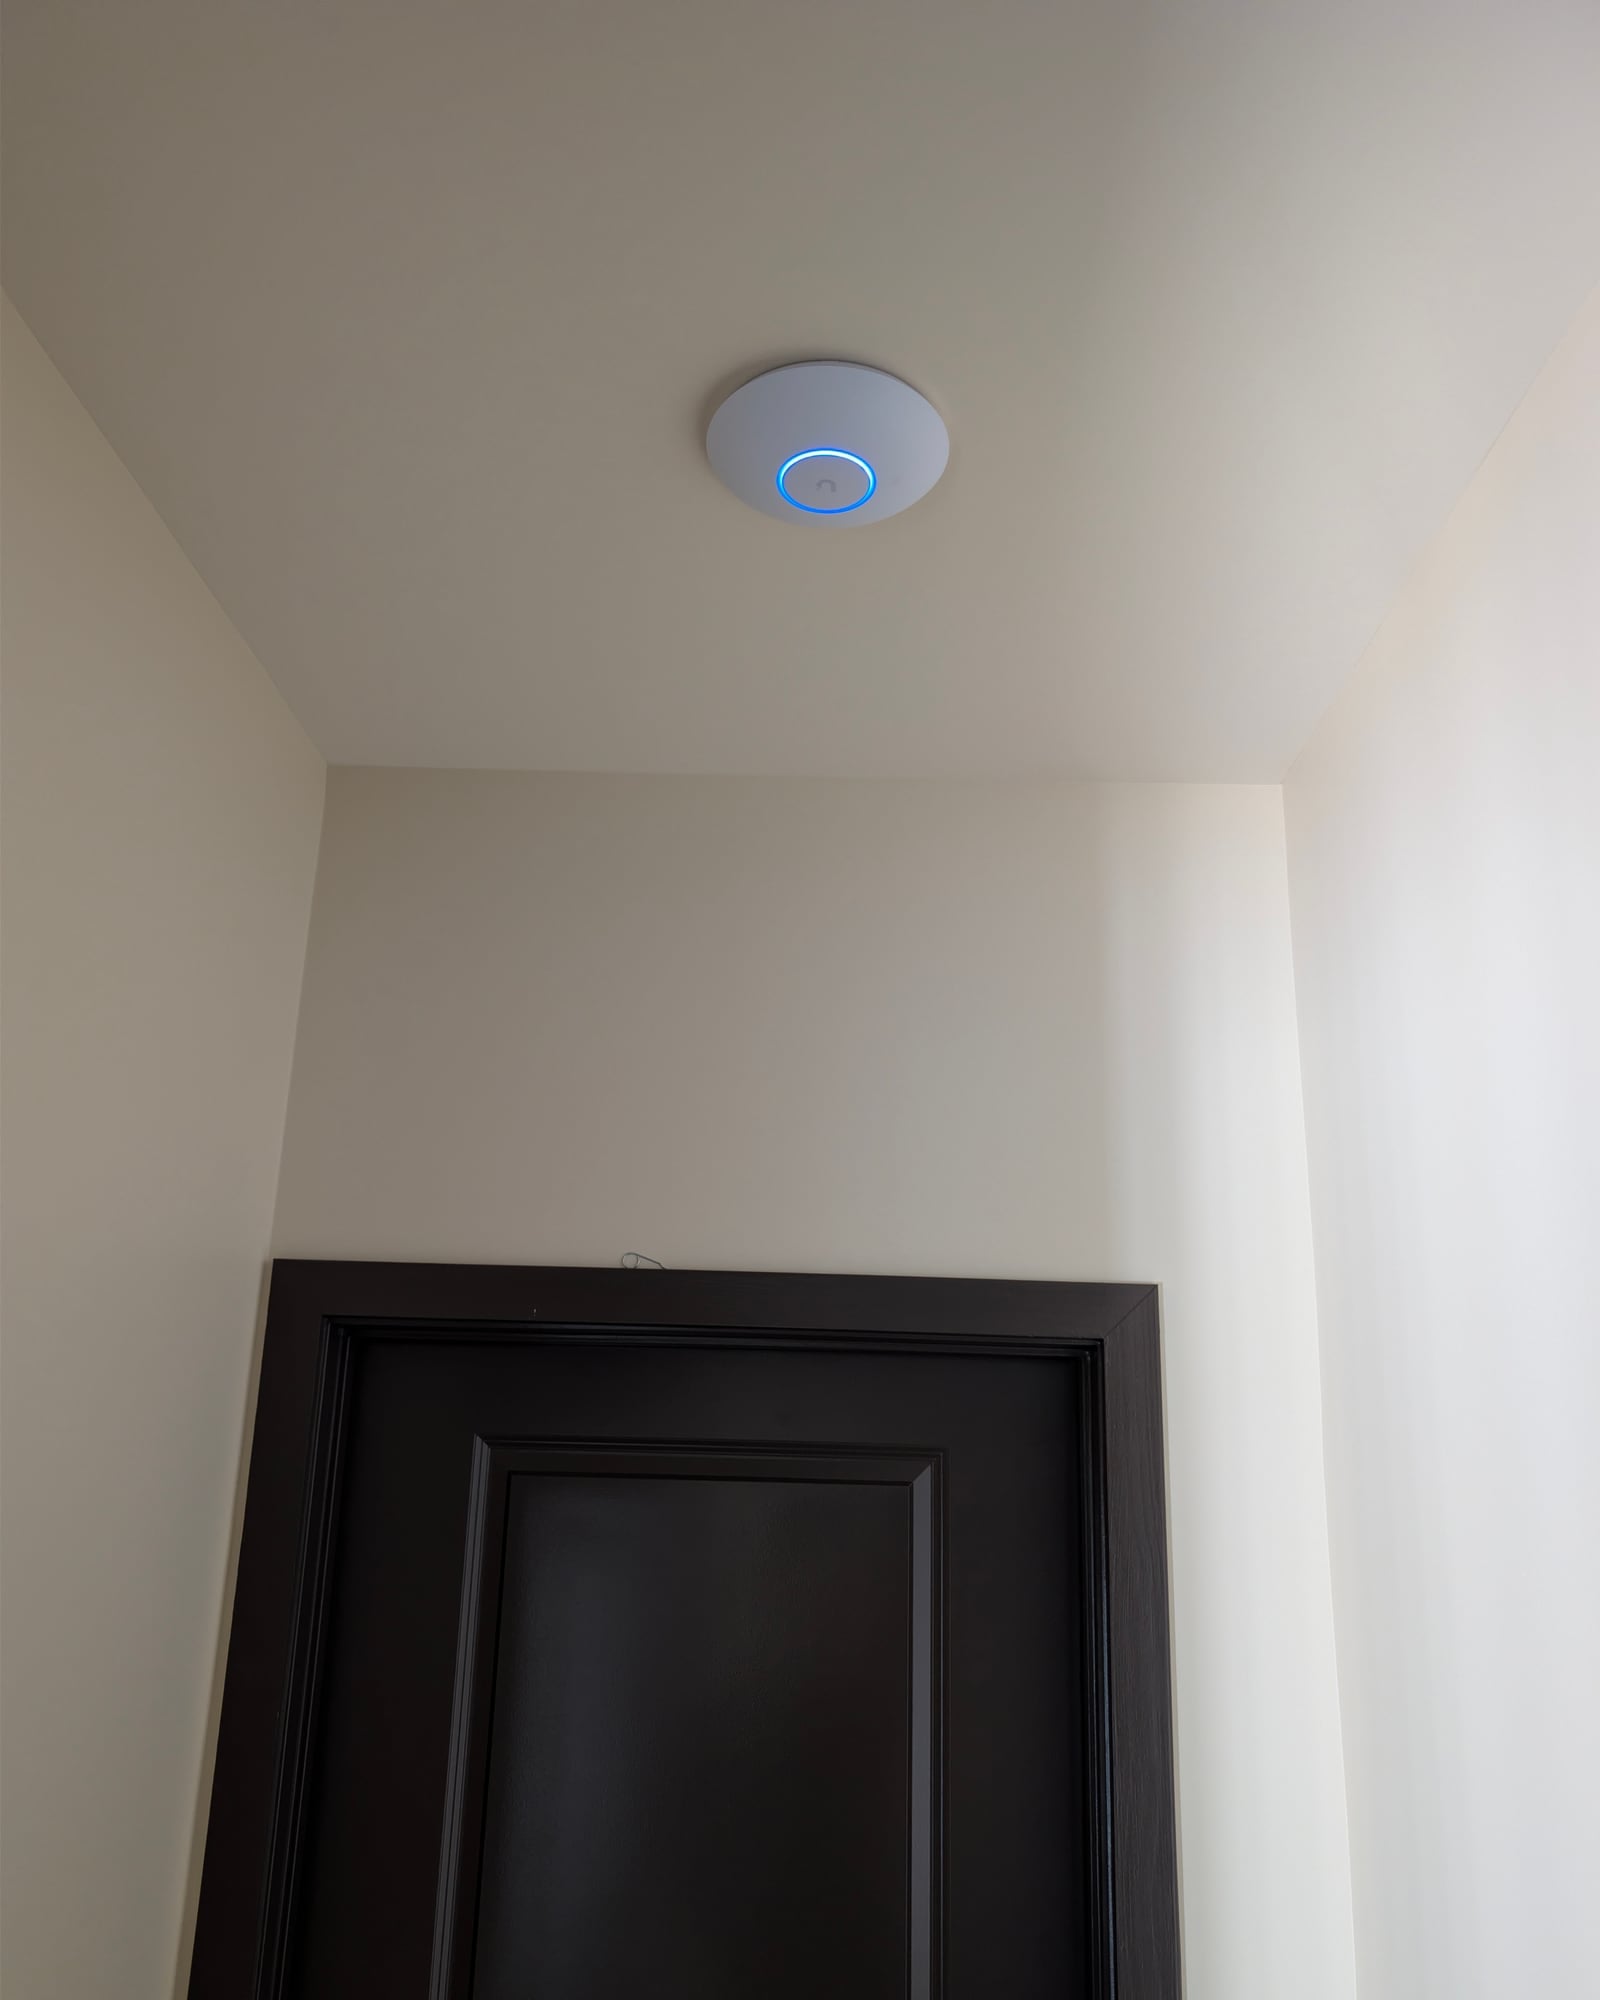
Coverage checked in the rooms and outdoor areas we agreed on, and while moving between them.
Cabling
Each new cable run tested from end to end.
Backup internet
The main connection taken down on purpose, to confirm the backup takes over.
Your access
You sign in to the accounts that manage the system, and your own devices are connected.
A backup connection gives the house a second way online. It can’t prevent every failure, and when the switch happens, some video calls and VPN sessions may drop and reconnect.
From a handover record
Partlow, Virginia · August 2026
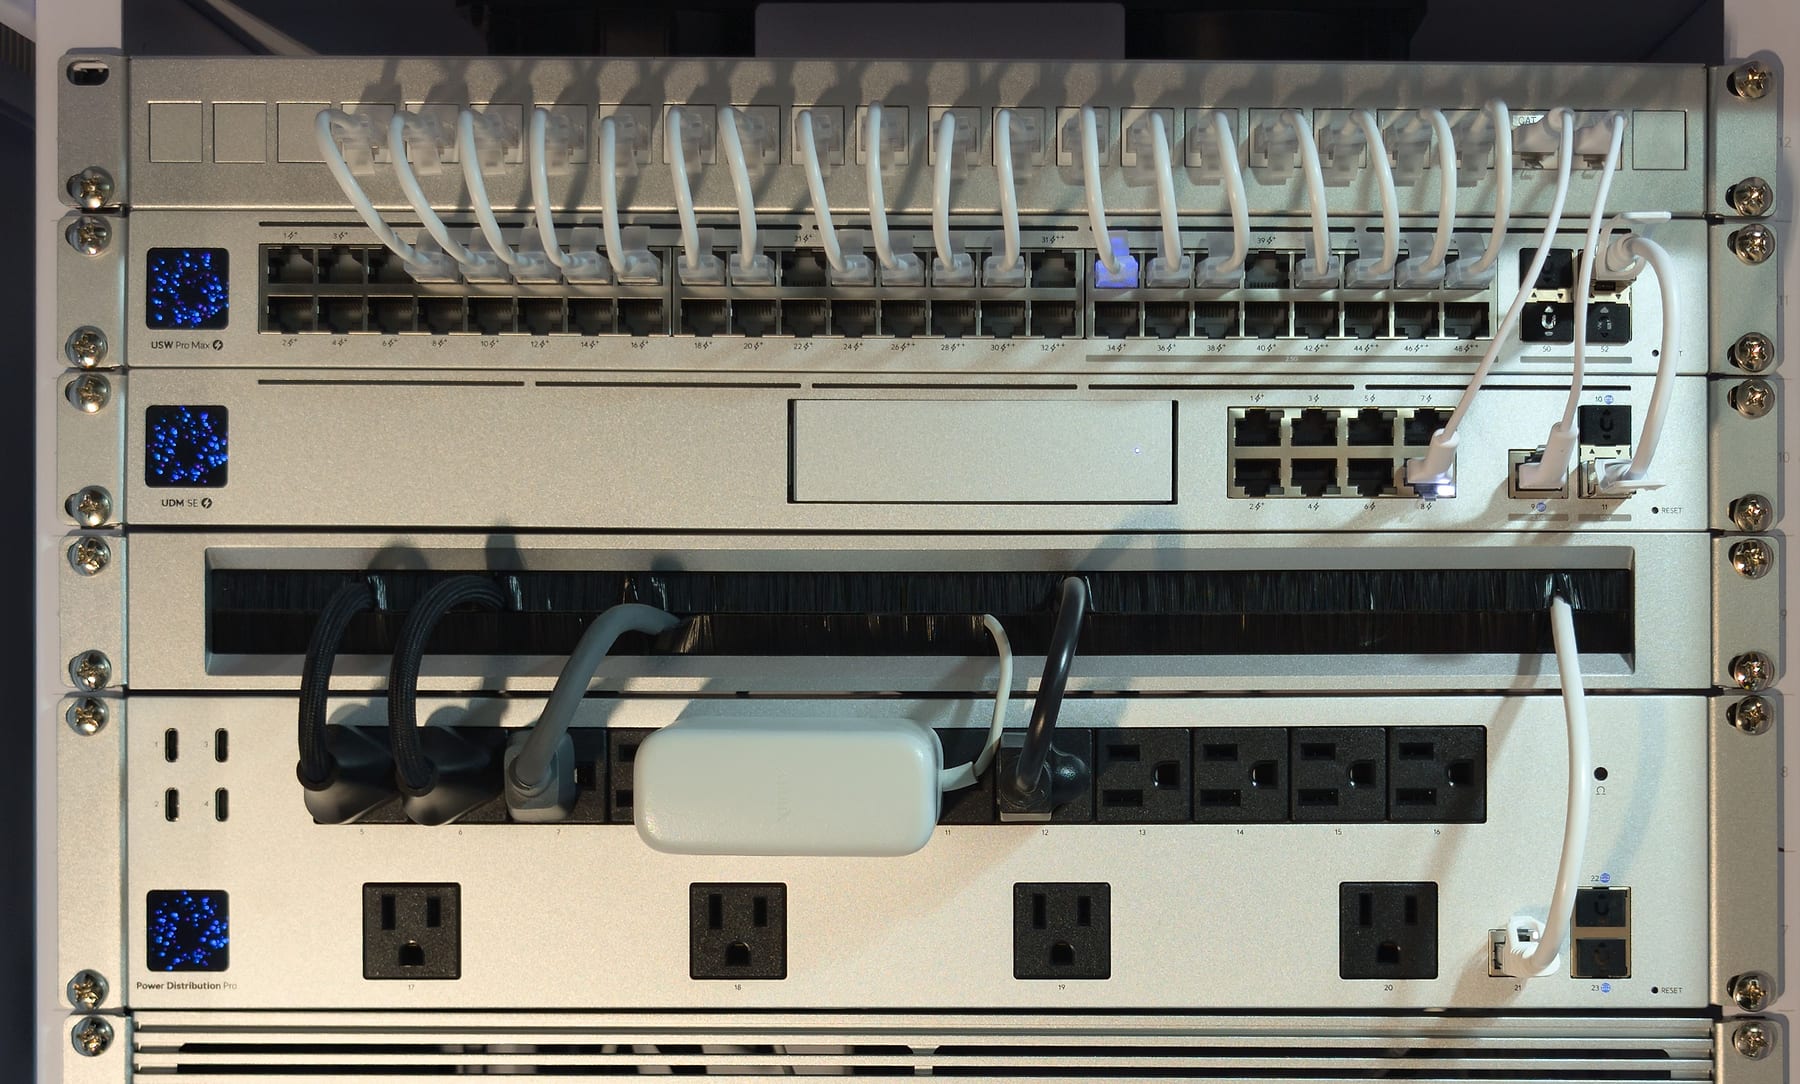
An occupied, finished home with Comcast as the main line and a Starlink backup. Every device, port, and power outlet was verified against the management console and written into the owner’s guide. The Starlink backup was connected, tested, and left on standby.
In the photograph: each cable lands on the patch panel and connects to a numbered switch port that matches the guide.
Read the projectWhat do I receive, control, and understand afterward?
The system is yours, and so is the information about it.
A good handover isn’t a thick binder. It’s what your household needs day to day, and what the next person needs to work on the system, sized to what was installed.
- Your accounts
- You hold the main account. Any support access we keep is a separate account, and you can remove it.
- Labels that match the records
- Cables, ports, and equipment are labeled, and the labels match what’s written down.
- A record of what’s installed
- What each device is, where it is, and how it connects, so future service and additions start from facts rather than guesswork.
- Instructions for the household
- Written for the people who live there: what’s normal, what to restart and in what order, and who to call. Larger systems also get a full guide for whoever services them.
When will I know the price?
Start with a free review.
Send the details and Eric recommends the next step. Whatever it is, you’ll know what it involves and what it costs before you agree to it.
Where everyone starts
Initial Project Review
No charge
We look at what you’ve sent, confirm the project is a good fit, and recommend the next step. It’s non-binding and creates no financial obligation.
What the review can lead to
Written quote
Per project
When the work and the conditions are clear enough to price. The price is set for the scope you approve.
On-Site Infrastructure Assessment
Fee confirmed first
When something needs diagnosing on site first. Approximately 60–90 minutes, ending with written findings and a recommended direction. The fee is confirmed with you, and paid, before the visit is booked; any installation is quoted separately.
Infrastructure Architecture Plan
Per property
A full design, as its own engagement, for complex, multi-building, or phased projects.
Tell us what isn’t working.
Describe the property and what you’d like to be different. You’ll hear back from Eric directly, with a recommended next step.
The first conversation is free, and Eric Enkh replies personally.